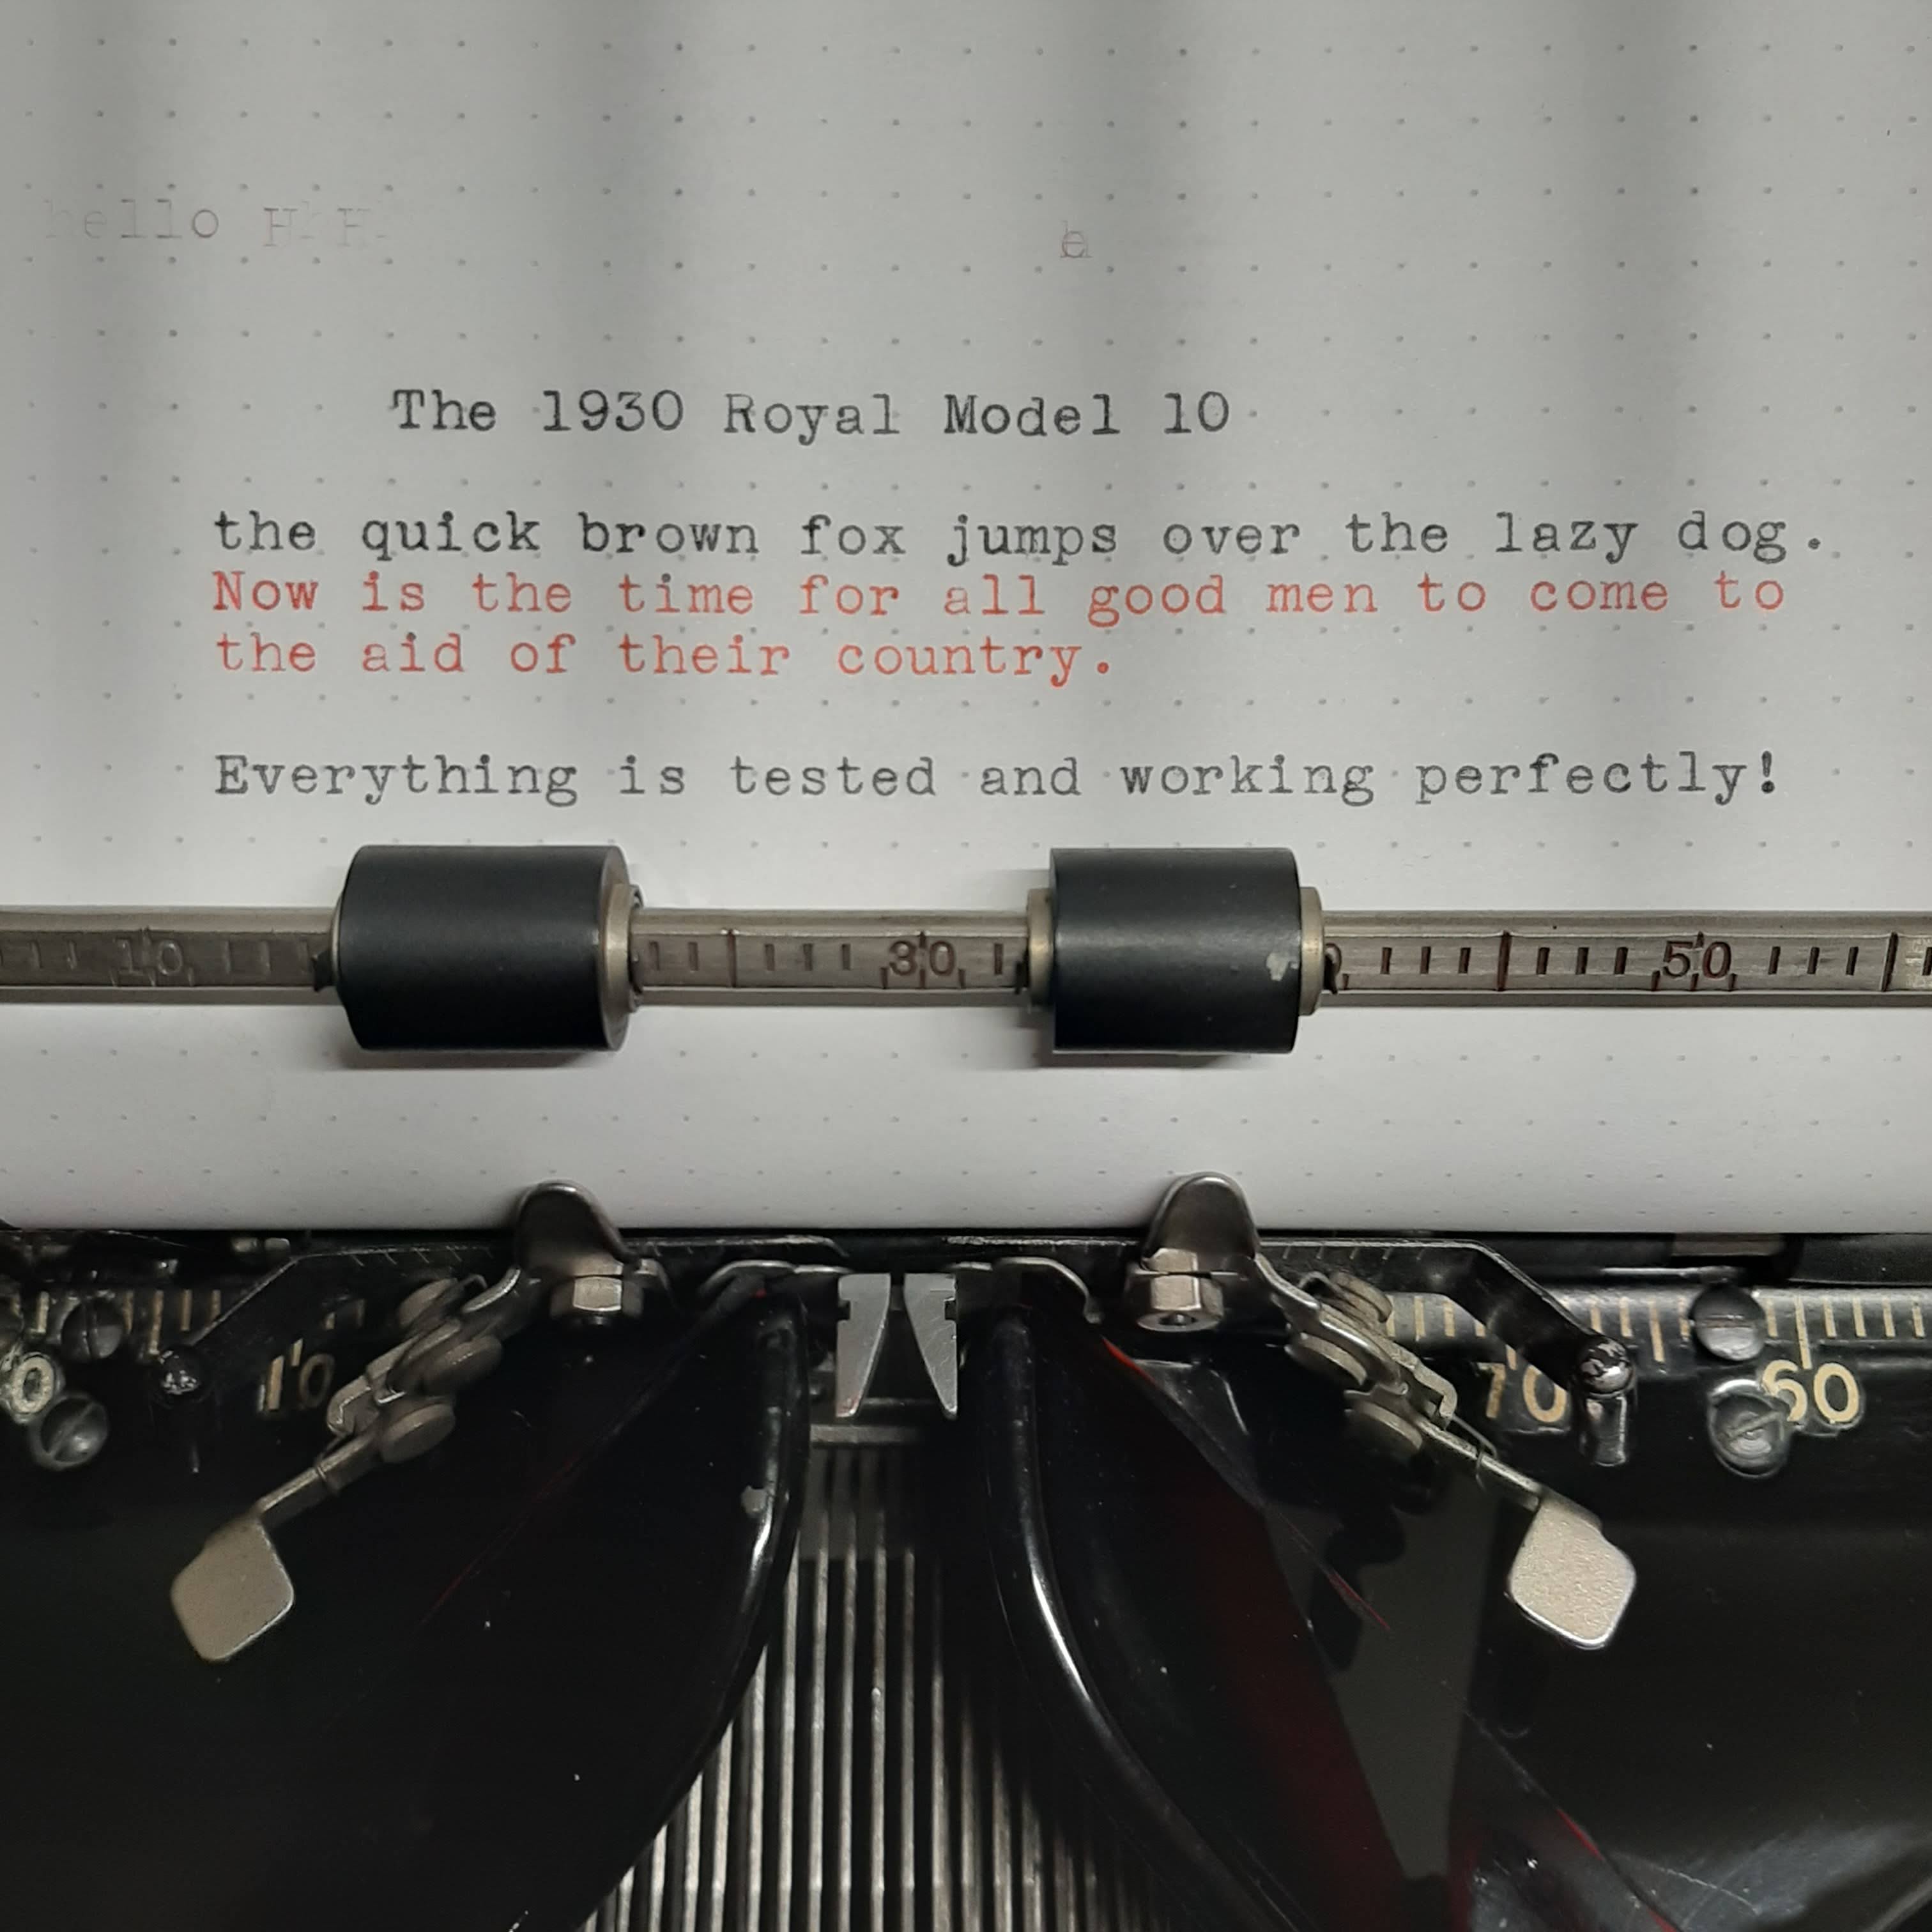
1930 Royal Model 10

I picked this machine up from the client about a week ago. When I first got it, I thought it looked amazing, even the decals retained their original gold lettering which is something that tends to wear away. This particular machine was one of the last carriage shift models, and as such, is more mechanically simple on the inside. I didn't see the main points of damage until I got around to diagnosing the issue, which for this machine was fall damage. The two carriage side brackets were both bent in a zig-zag, causing the carriage to bind along the tabulator bar. In addition to this, several of the bolts and screws had completely sheered in half, threads separated from the heads and shafts.


In fixing damage like this, the first thing to do is take it all apart, and indeed that is what I did. I began by removing all the rear elements of the carriage, the bearing rod, the tab bar, the margin bar, the paper table, as well as all the trays and rubber rollers.
The bends in the metal had already weakened the areas around the holes, and stress cracks had taken hold. I thought I could cold bend it on the machine, but with slight pressure, it became apparent that I needed to use heat, and also remove the carriage from the machine. The removal and installation is an easy process, so rather than type it out, I made a youtube video.


If you did not previously notice, some of the engraved lettering actually retained the original red lacquer that was used to fill it! Moving on, the baseplate of the machine comes off as one piece, buffered with four corner rubber bits. This whole assembly is attached to the machine via the four feet screws. Unlike the later model 10, this has no access hatch, and in order to see the undercarriage, you need to remove the entire thing.


After I was done killing myself with adjustments, I finished the final polish coats and reinstalled all of the body panels. And then it came to finding metal spools. They are very hard to find for royal standards, and generally cost 30-40 dollars per set. Plastic ones aren't even made. What makes these spools special is the proprietary automatic release trigger tab that is built into the bottom of the spool. When the ribbon unwinds completely, the tab drops down and engages the reverse. Standard typewriter spools will not fit this, which is kinda a shame. What I ended up having to do since I only had one spare spool, was to hand over the very first typewriter spool I ever owned, off of my Royal 10. A sad day that was, but I need to be able to get my client's work done by the holidays. It is what it is, and a spool is just a spool. I do have the other one so that lessens the blow a little.


Incredible job as always!! You are a true talent!
ReplyDelete