Corona 4 carriage swap and then some

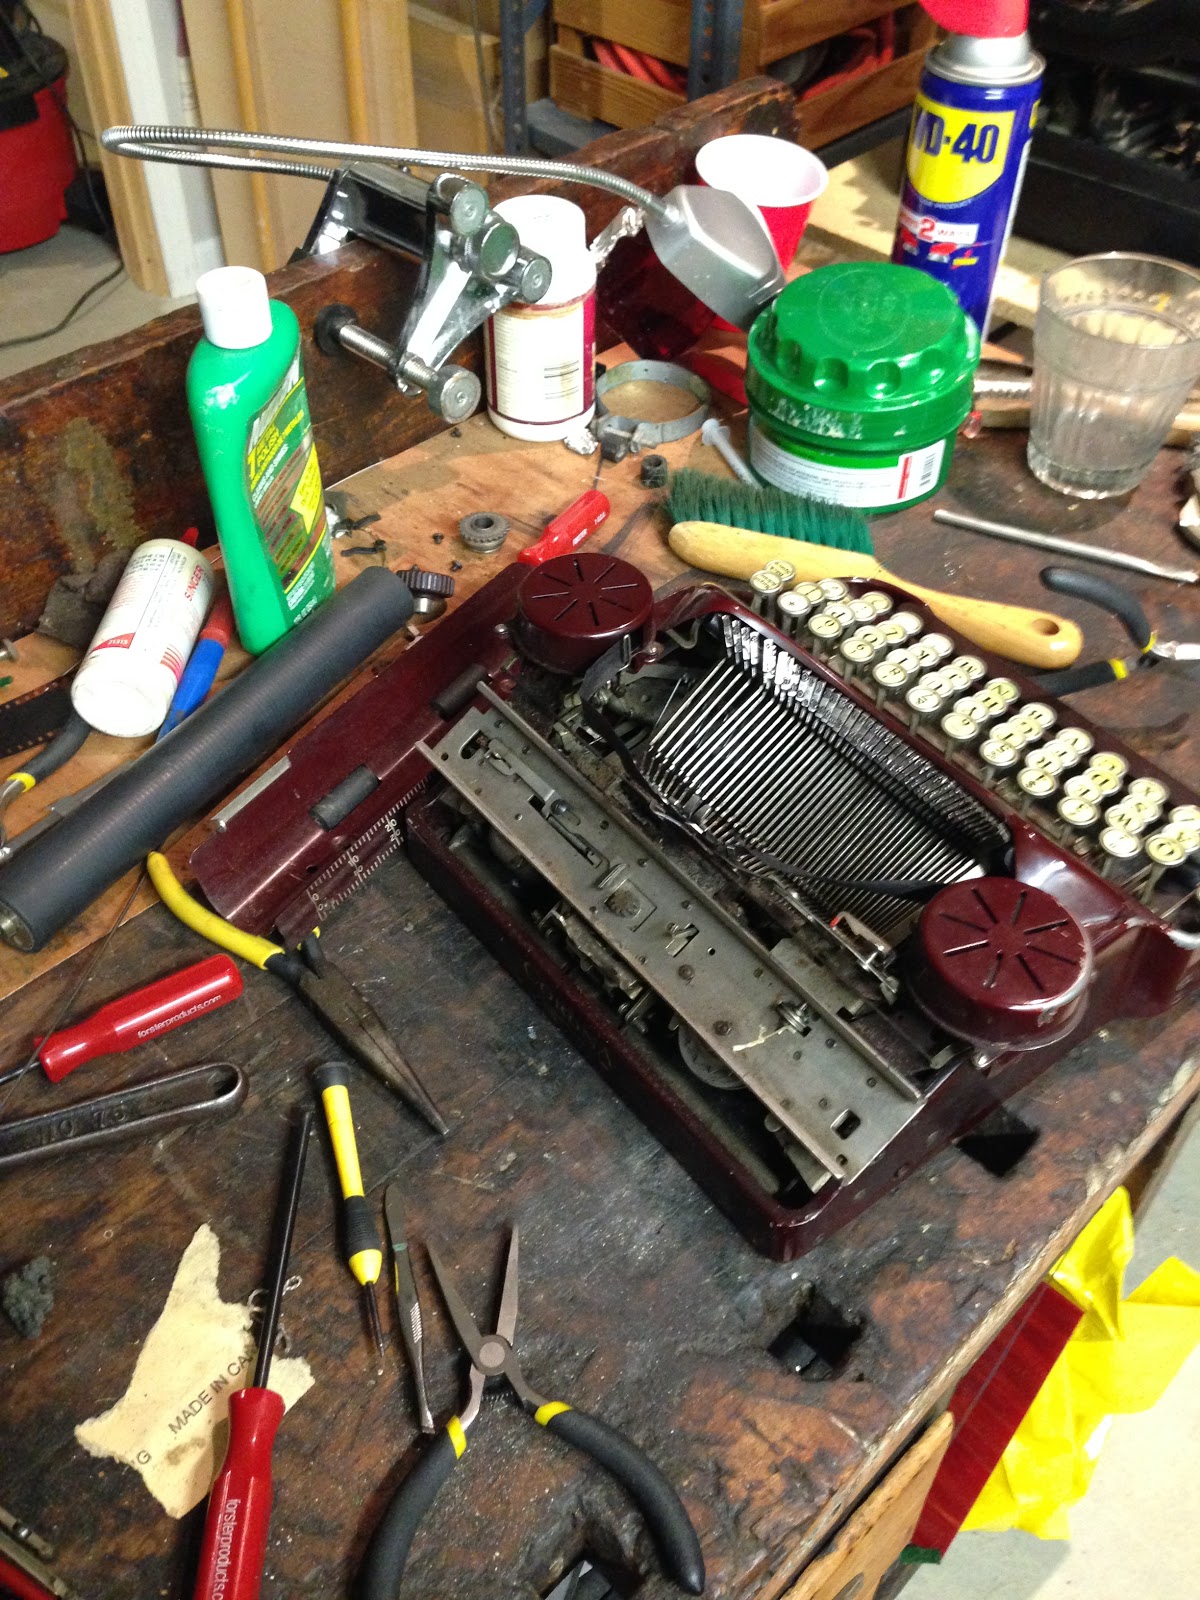
The Corona 4 was the followup flagship portable typewriter of the LC Smith company. The previous model, the Corona 3 was their folding portable 3 bank machine. The 4 featured a 4 bank keyboard, and required no prior setup to type. The machine on the left is a Maroon Corona 4 that was thoroughly soaked in oil and grime. The machine was missing both the ratchet system and the starwheel, so it was essentially useless. The one on the right, the Green one, was in complete shape minus some feet, and it needed a drawband and a new carriage rack. The teeth on a small section on the left side had stripped away causing the machine to bind up when typing. Though the rack is built into the actual carriage frame itself, I felt it would be easier to replace that, than the starwheel.
The platen and paper tray/table is very easy to remove, after that there are a series of flathead screws along the bottom. The carriage rails are essentially two separate pieces that come together once the carriage is mounted. It keeps from sliding off due to the small gear on the bearing piece that slots into the perforations in the main rails. These holes are only along the mid section, and don't allow the bearings to move to a point where they'd fall out. As a result, the carriage has to be spread open to allow for removal of the bearings, than the front of the carriage gets tipped up and out. A point to note, the carriage lock arm falls off the right end of the carriage as you remove it. Note its position and carry on.


Following that, I removed the other carriage in the same manner and swapped the two. The new one had to be installed the opposite way, and then spread apart to allow the barrings to be slid in from the side. The carriage was pulled all the way to the right, and spread apart. The bearings were slid in the proper orientation along the back way until the gear indexed in the holes. Then the bearings were inserted in the front side the identical way. After they were settled, I gently clamped the rails back together and tightened the screws. Even after all this, my torture wasn't over. When typing, the the machine wouldn't operate on the capital setting. This was due to the vibrator binding up. When you shift characters, the ribbon vibrator system moves up with the carriage. A small swinging bar mounted to the left of the carriage bounces out and dislodges a lock at the base of the vibrator linkage. This allows the vibrator to travel further on the capital setting. If this lock doesn't move out of the way, the vibration system has no extra room to travel, since the act of shifting has taken that room away. The machine then won't type.

On caps, I indicated the lock with the white wire
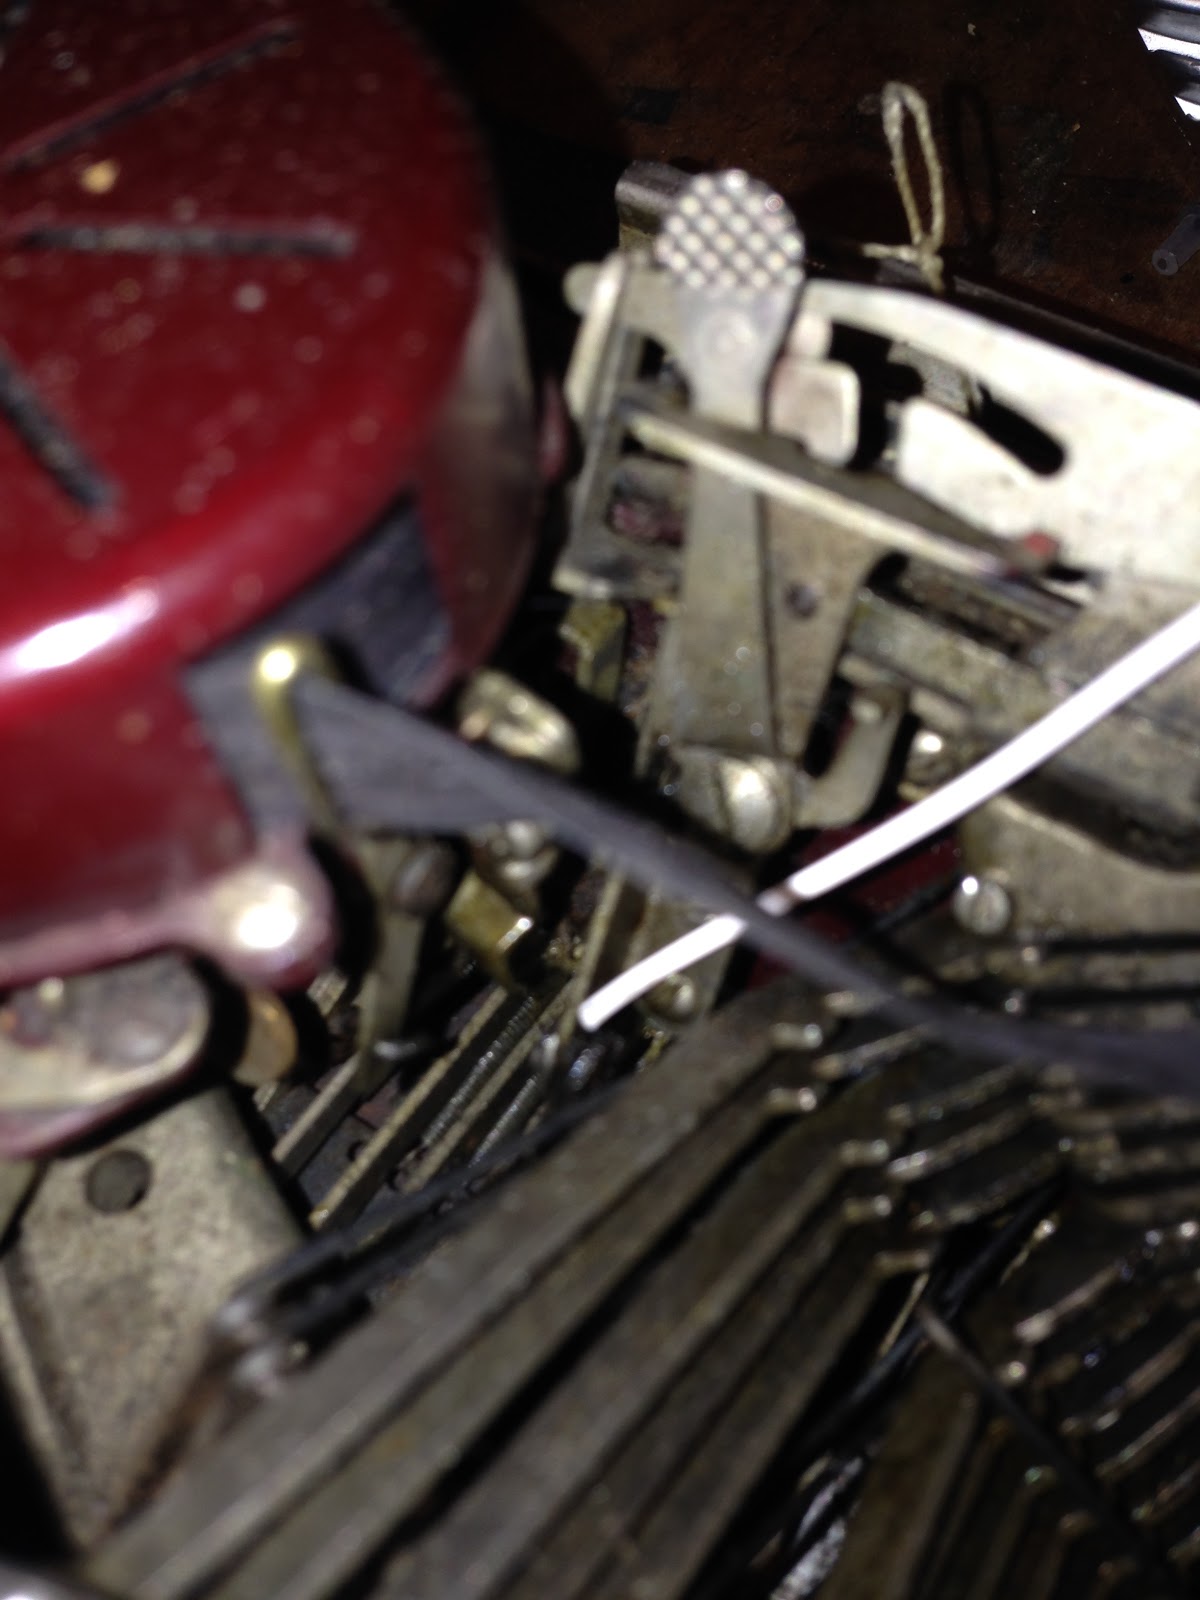
Lowercase, the lock fell back down around the screw pivot

Here the white wire is slipped behind the little bumper piece.
This swings out when you shift, and dislodges the lock.
I had to reform the bumper piece, make sure its just out enough that it locks on lowercase, and unlocked on uppercase. That's the only way it'll type on both settings. So I fixed that too, but in the wise descriptive words of an infomercial narrator, BUT WAIT, THERE'S MORE. God help me. The keys didn't hit the platen. That's right. In some unholy act of vengeance someone beat the machine so much that the frame is slightly curved preventing most of they keys from striking. All the curse words I could be writing right now...Oh, and also the S key was bent and needed replacing. Couldn't get it straight enough to fit in the segment slot. So I bent over the stoppers on the key arms so they reached further, and undid the two segment screws. Getting the segment wire out on the left side is a pain in the ass. I said it. A massive pain. To poke it out, you need to maneuver a little tool through a hole in the vibrator mechanism, then getting it back in, since its the flat side, each key has to be wiggled for an eternity until it slips back in. The S key was easy enough to replace.


And that, Ladies and Gentleman...Is what we call "good enough"
I didn't even search for a serial number. I don't care.


Wow. What a challenge! Congratulations on getting it to work. If you decide you do care enough to find the serial number, I think it's stamped on the bottom inside surface of the back panel.
ReplyDeleteWow thanks for the great right up, I could not figure what was stopping the carriage . How did you spread the rails?.
ReplyDelete