1914 Blickensderfer 9


A keen eye will see the telltale signs of broken cast iron immediately.
Also, note those short and long travel bars, the fat horizontal ones.
If you are unaware, the Blickensderfer debut at the Chicago World Columbian Expo in 1893, alongside other notable typewriters like the Williams and the Hammond. It was the brainchild of a brilliant man named Blickensderfer who had devoted an extraordinary amount of time formulating what he considered to be the best and most efficient direct inking machine. I would beg to differ, but hey, he had a dream. His initial keyboard layout was a marvel, and in the sense of efficiency was truly superior to both QWERTY and Dvorak. Unhindered by the potential of tangling type bars due to his brilliant drum type element design (a variation of the single type element that existed as the grandfather of the selectric), he was able to design the idea key layout after much research. Unfortunately for him, despite his resilience, QWERTY had taken root thanks to Remington and the revolution that was mas production. George Blickensderfer faced an ultimatum. Trash his precious layout and adopt QWERTY, or go out of business. George was, after all, a smart man, so presented to you is the Blick 9, one of many later variations to feature a QWERTY layout.
Now the mechanics behind the inner workings of the Blick are every bit as simplistic as they are a violent hellscape of mechanical hatred. Stripping this machine down to its frame is ill-advised, but there will always be crackheads out there in the world like me who chose two do so. There are three internal bars, one long bar that controls the strike motion of the head, and two shorter bars that control the index rotation. One for the left, and another for the right. The type head itself sits on two gears. One spaced gear that locks in the final indexed letter on a wedge indicator, and one parabolic-esque gear that has a tooth corresponding with each facet of the drum. This odd shaped gear is held in place by two indexing bars that make contact as the head moves in a downward fashion thanks to the longer traveling machine bar. The second striking similarity to the IBM Selectric is in the way the key leavers encode the proper rotation of the type head. The drum of the blick is different in one main way than the golfball of an IBM. Instead of 64 characters, it holds a standard 44. Lowercase, capital, and figures are arranged in rows bottom to top, rather than hemispheres. This means the blick can use the same encoded data from each keystroke to index three different characters in respect to the height of the type drum...which, as you guessed is controlled by the cap and fig keys. Each key leaver has two bumps to it. Think of them as non-rotary cam shafts. The first of the bumps strikes the short bar driving it down, and in turn rotates the type head. After a set point of travel, the other bump on the key leaver strikes the downward travel bar, which brings the head down and locks the primary index gear (the wonky shaped one) onto the lower index bar, and as the head completes its travel, the top index bar engages. Finall the entire assembly strikes the wedge indicator and locks the selected letter firmly in place.

On the upper right of the frame, you can see that indicator wedge. It serves two
purposes. One to index the character, and another to indicate where it is printing
on the line scale.
Timing.... well, that's everything.
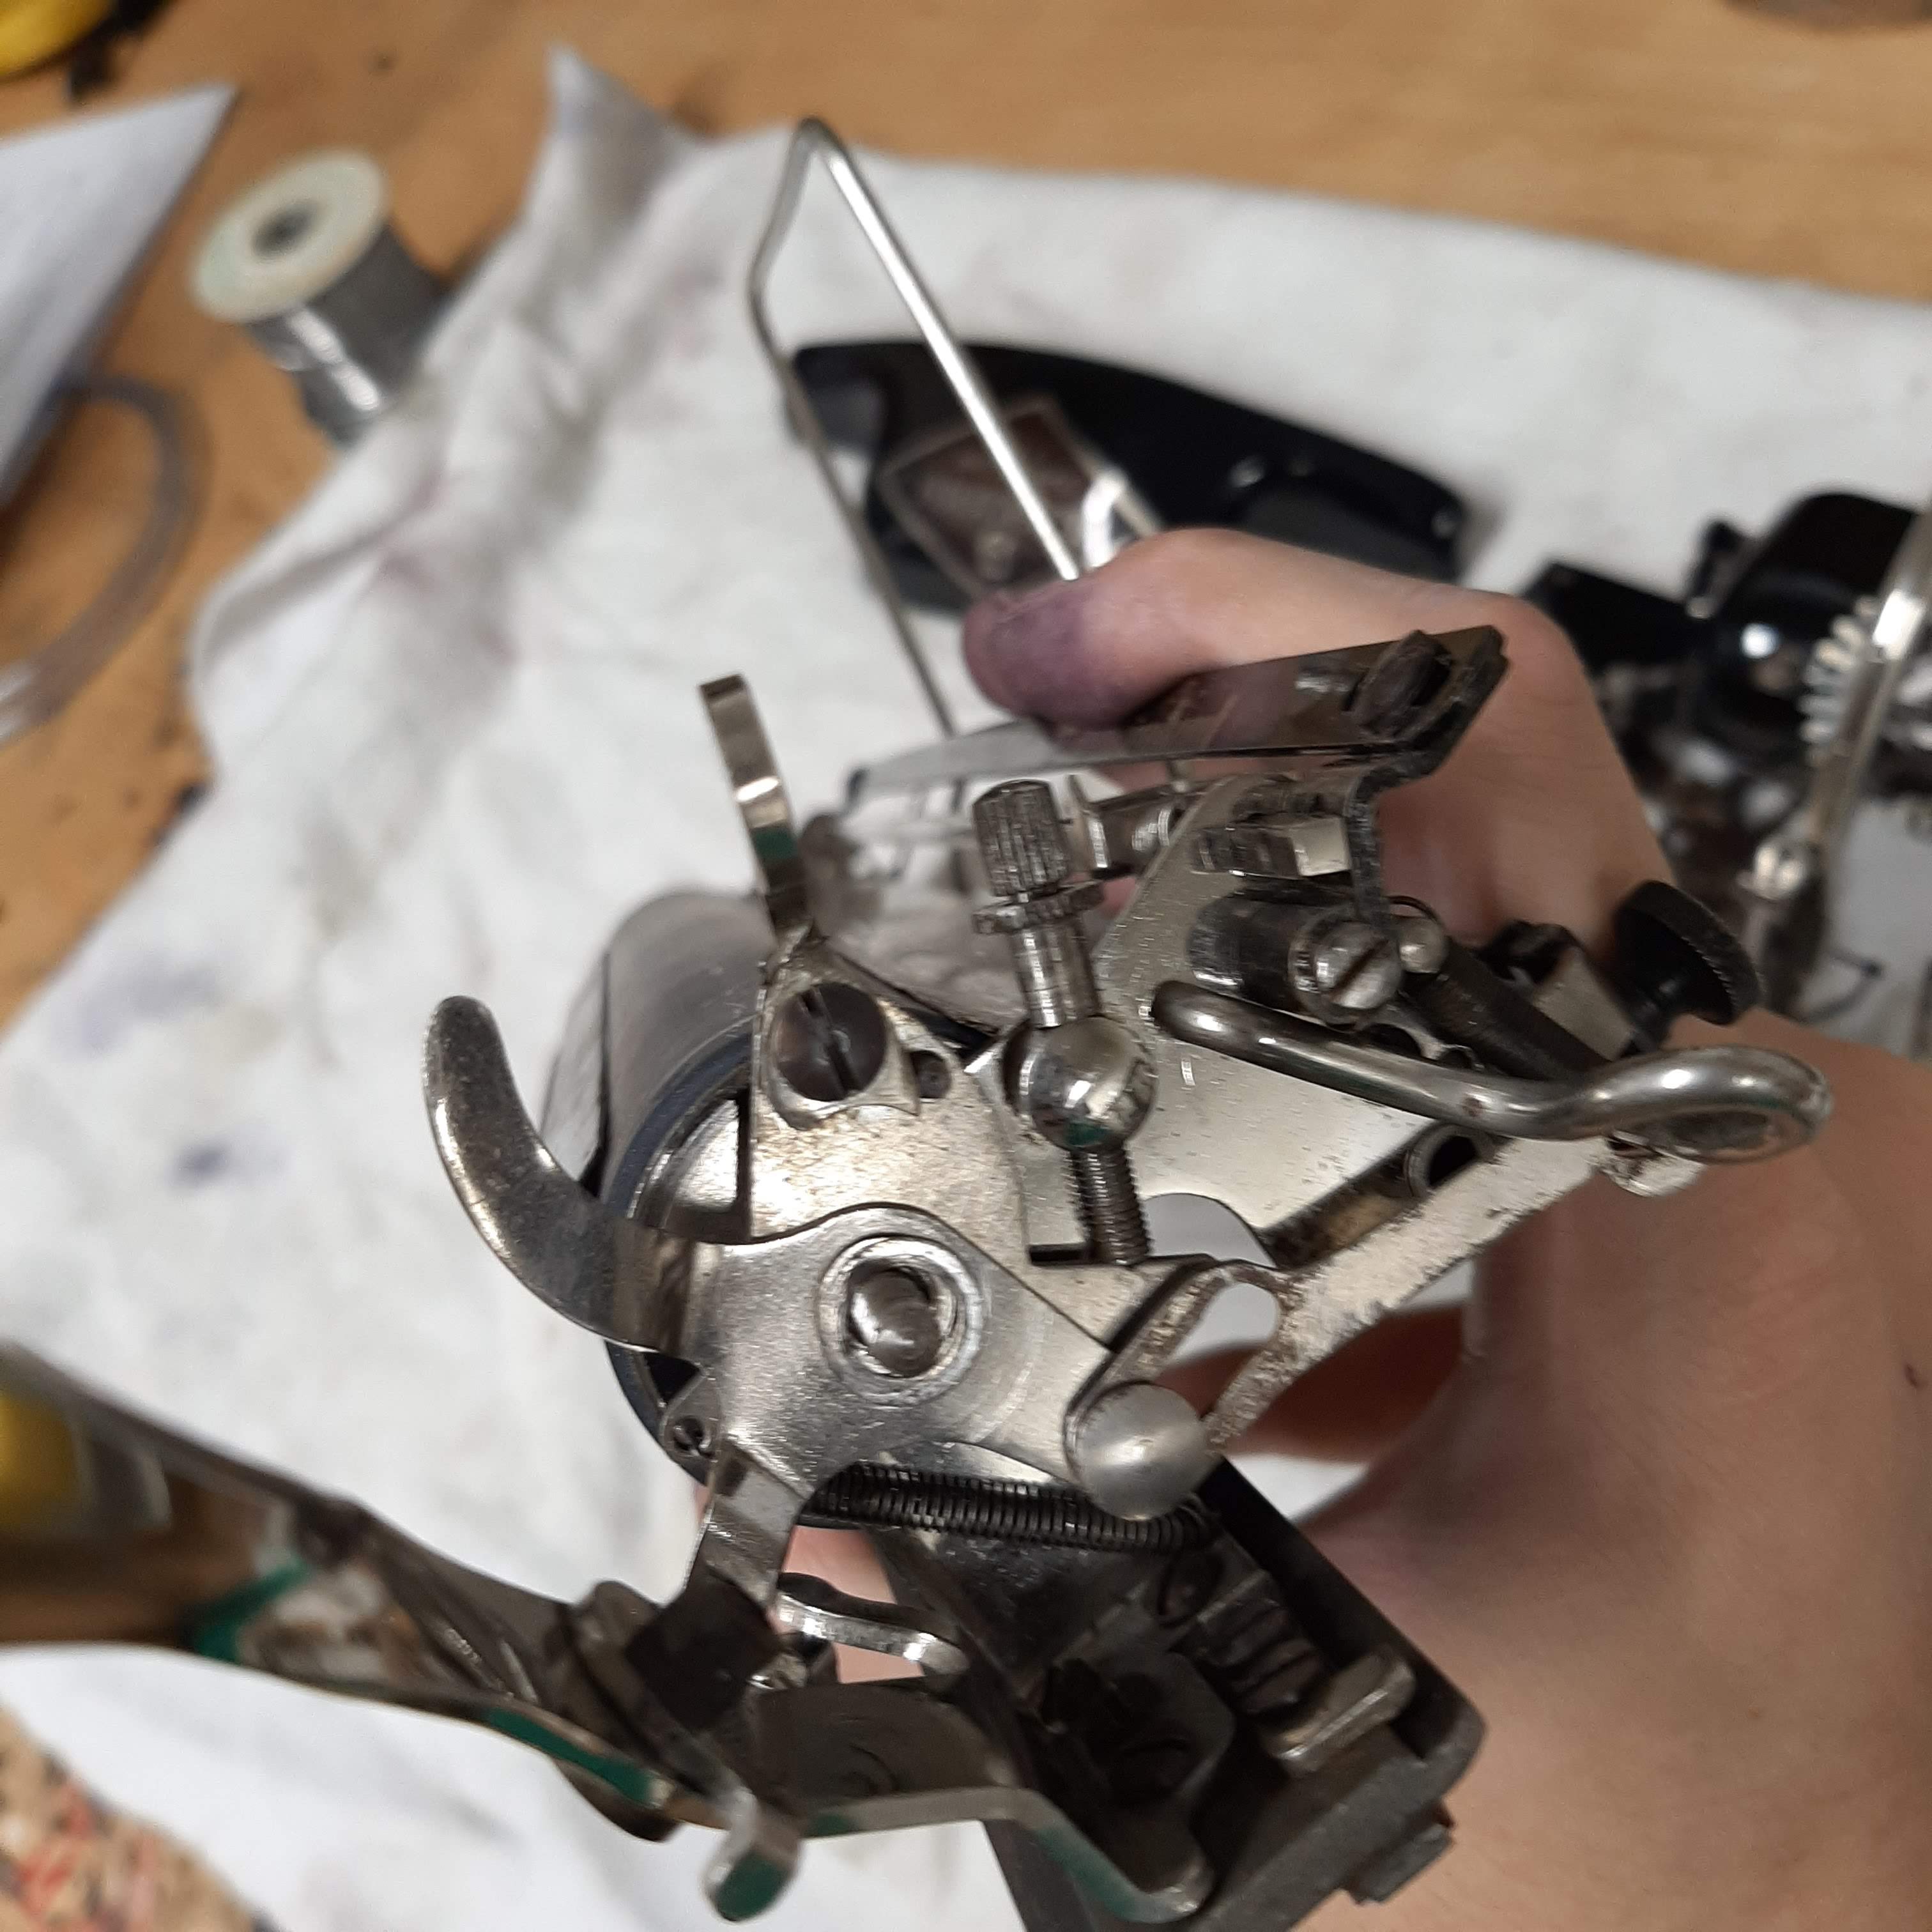
Timing is dictated by three screws underneath the type head, that is accessible by removing the carriage, which we will get to momentarily. The two outer ones controll the travel of the short rotation bar. Since the head locks into place upright, each of these need to be balanced so as the left bar rotates, the right unlatches. If you look at the front of the machine with the logo plate off, you can see where the two sides latch into place. If these screws aren't adjusted right, they will bind. The center screw controls at which point the downward travel bar engages. To balance them all out, the B and V keys are dialed in. First to make sure they don't bind, and second because they are the two keys that require least movement to index (most being P and Q).

The three adjustment screws in that central cast block

The left alignment latch, you can see where the cast iron gear head that
rotates the left side of the drum comes down to a point that slots right into
the cutout on the lower latch. The curved sharkfin bit is for caps and figs, and
the thick squiggle above it is the index for caps and figs. It is spring loaded
and rests on the top edge of the keyleaver comb.

head, logo plate, and carriage removed

left margin bar disengaged

non rotary push-pull escapement

partial disassembly
carriage teardown


Paper feed springs (slot into the cast iron carriage base)


total carriage dismantle
After the carriage was torn down, I sent the platen off to JJ short, and redid the only feed roller myself. I took a bunch of photos detailing the tear down process to help aid me after I cleaned it up. Once it was clean, parts had to be moved to my bedroom desk for reassembly and adjustments. I was busy working on a series of other machies as well. The original plan was to have all the old nickel redone, but that plan fell by the wayside so I ended up hand polishing most of the important bits. Now cue the slideshow

(ink roller bar parts)

Rear right margin

Guide, line lock, and bail assembly

the spring leaver for caps and fig

keyleaver, see hairspring and the two index bumps

comb removed

keys removed (held in only by a top short comb)

A film snapshot with my Nikon F3/T

Getting ready to assemble


All new rubber, mostly assembled carriage. Watch that the
carriage release goes back in the right manner.

Those parts I polished


The final step was to nail the broken case back together, and felt line the case base.


And that is that.
VIDEO:
https://www.youtube.com/watch?v=u87tEU00R6w


Impressive. I have never had the temerity to dig into the mechanical heart of a Blick. I know that it's beyond my mechanical and intellectual abilities!
ReplyDeleteIncredible job!! First rate as always my friend!
ReplyDelete