1964 Olivetti Lettera 22
i broke my format

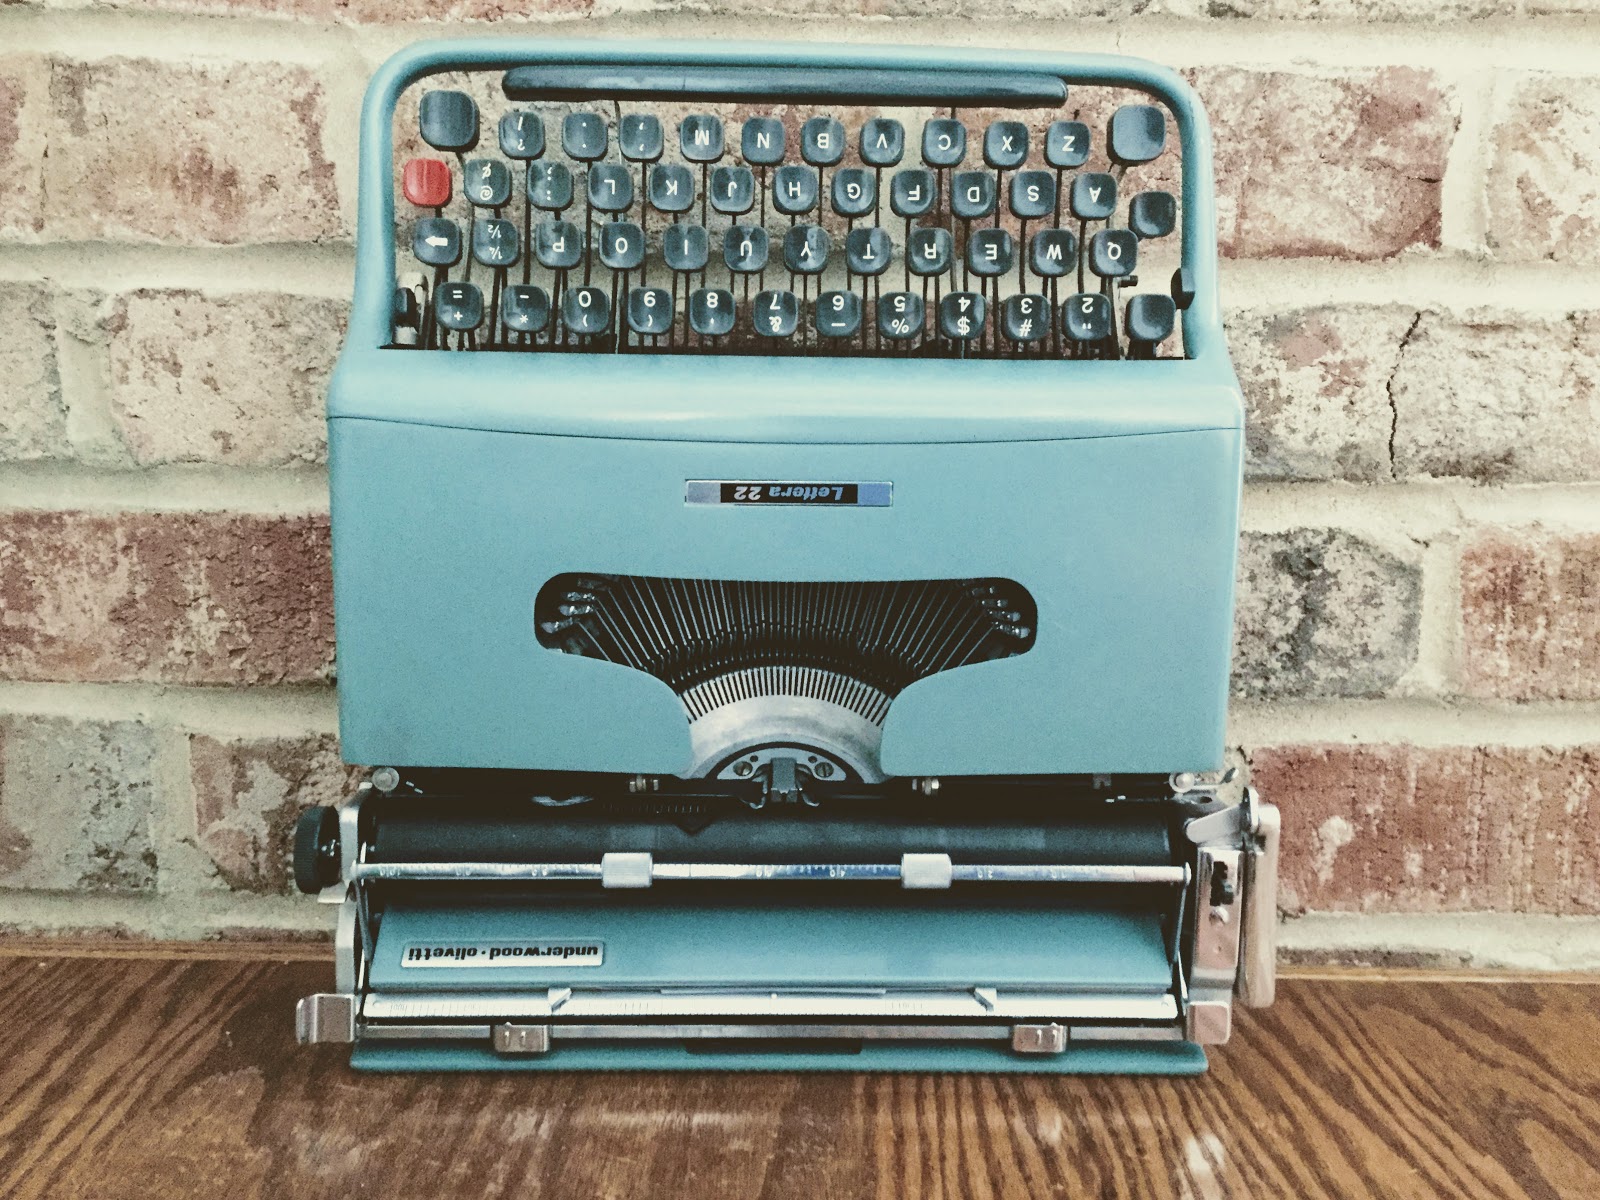
Top: Tower Cheiftian, Bottom: Lettera 22, Right: Underwood Olivetti Lettera 22
The Generous Kai Razon sold me three Olivetti 22 typewriters, two parts machines and one nice one. I scarcely had the blue one for more than a few hours before it sold. So I set to work with great haste, making this a decently brief article. I have always wanted two things. A typewriter in Elite, and a Lettera 22 with a round key American keyboard. The blue one was American and elite, but with square keys. Funnily enough, I can never find them, I only ever pick up Pica machines, the ones that I work on that are Elite always belong to someone else. The one that landed in my hands sold before I even saw the font size. How sad.
The grey parts machine I decided to keep for myself, and I will write about that a little later on. It needs a return leaver, and a right-hand platen knob, for both of which I turned to the typewriter groups on facebook. I just joined the other day, its quite the fiasco. The blue one on the otherhand was nice and complete, just needed cleaning. Underwood Ollivetti came out when Olivetti (Italian) purchased out Underwood (American) after the Underwood company was struggling financially. The other machine in this photo, the Tower, is the same machine but branded by Sears. Sears also sold another Lettera 22 called the Sears Courier, and I had the opportunity to pick up a salmon colored one but had already spent enough for the day (it's called self control.) This blue machine suffered a fall, and was also worked on by someone who had very little idea what to do. The paper tray was installed backwards and so bent up that it had carved a section out of the platen. I replaced the platen with the one off the Tower, as well as the paper tray.
The knobs both twist off in opposite directions, though the left one can be a bit stuck on. The body is removed by taking off the ribbon cover, and removing the two screws there, as well as the two screws underneath either side of the carriage. With the carriage to the extreme left, it slides up and off the left side of the machine. The bottom is also removed with four screws in the feet.

A good thing to note with this machine, is that pieces don't form well. In other words, they don't bend. I snapped both the shift lock bracket, and the carriage lock. These pieces I needed to replace. The shift lock on the blue one had a riveted arm that set and cleared tabs. This arm had to be removed and re-riveted onto the donor part from the sears, which lacked a tab system.


Cleaning the machine was done with denatured alcohol, and some brushes. Overall it was very clean, and took about an hour. The body was replaced along with the broken parts.


new shift lock bracket

typewriters can be vicious creatures
A few hours later, I was mucking with the machine when I realized it has a lot of torque to it, meaning that the frame twisted quite a lot. This must've been a result of a drop, and in certain positions it caused the basket to bind on shift. To fix this, I took one of the extra thin washers from the body of the machine and shoved it between the carriage frame parts on the right side to compensate for the bend. The frame washer could be replaced with a thicker one I had on hand.

The screw fit just right, and allowed the basket an extra millimeter of breathing room. In a pinch, paper would've worked as well, but I had the washer on hand (as well as several extras from parts machines). The only thing to do afterwords is replace the snapped carriage lock arm, and test it.


Fall damage reinforced with a penny and a crapton of superglue


Now comes the grey machine in a Pica. This machine typed alright, but needed a platen knob, a new return leaver, and a paper tray. I took an hour to clean the gunk out (still needs way more cleaning) and decided to try and solve the issues...just to see if I could fix it without buying parts.

Of course here we have what may very well be the crappiest working Olivetti Lettera 22 in the world. Let's take a tour.
On the carriage, you'll notice that it has not one, but TWO left-hand platen knobs.

And on the return you'll notice this ugly thing

yes, that is a knitting needle
Okay, so let me explain myself. The cast aluminum post that runs down the carriage return leaver arm snapped in half. Below this arm, a pin has to be popped in order to remove it.


I need a new one please.
Back to the workbench with this one.


Very nicely done on the first machine, and a valiant and creative attempt on the other! :D
ReplyDeleteHey nice article! I found this post while trying to remove the post of the carriage return lever (mine is broken and found the whole spare part). But I can't remove the post. Can you explain how to "pop in" the pin? Thank you!
ReplyDeleteHi, I just used a pair of pliers, one side was on the pin, the other side was off the pin, and I squeezed!
DeleteThanks! for the quick answer! I'm afraid don't understand, that wouldn't break/bend the pin? I tried to grab it and pull with the pliers with no luck.
DeleteYou're not pulling the pin, you're pushing it out. One half of the needle nose pliers will be on the top of the pin to push it, while the other is on the opposite side NOT on the pin, but on the return arm barrel. Squeezing will apply force to the pin, driving it out of the barrel, you need to be sure you aren't squeezing both ends of the pin or you will peen it in place and then have to drill.
DeleteAny luck finding replacement carriage return arm/mechanism? I have a 1950 model I'd like to restore.
Delete